Module 3b: Basics in Pseudocode
Goal of this Module: Gain an Understanding of PseudocodeModule 3b: Basics in Pseudocode Document Download
Module: Basics in Pseudocode Lesson
What is ProgrammingPseudocode
Pseudocode
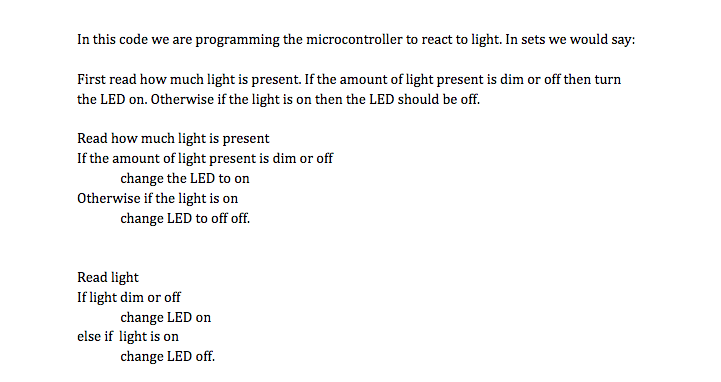
Breakdown/* Adapted from http://playground.arduino.cc/Learning/PhotoResistor Simple test of the functionality of the photo resistor Connect the photoresistor one leg to pin 0, and pin to +5V Connect a resistor (around 10k is a good value, higher values gives higher readings) from pin 0 to GND. ---------------------------------------------------- PhotoR 10K +5 o---/\/\/--.--/\/\/---o GND | Pin A0 o----------- ---------------------------------------------------- */ int lightPin = A0; //define a pin for Photo resistor (input) int ledPin = 13; // the pin for the led (output) void setup() { Serial.begin(9600); //Begin serial communication pinMode( lightPin, INPUT ); pinMode( ledPin, OUTPUT ); } void loop() { int lightValue = analogRead( lightPin ); Serial.println( lightValue ); //Write the value of the photoresistor to the serial monitor. // if there is not enough light if ( lightValue < 400 ) // turn on the LED digitalWrite( ledPin, HIGH ); else // otherwise, turn it off digitalWrite( ledPin, LOW ); delay(10); //short delay for faster response to light }Breakdown