Temperature Sensor
Simple Arduino example to print out temperature (celsius) and humidity (%) values using a DHT11 sensor.
Components
1 x temperature and humidity sensor (DHT11)
1 x Arduino Uno
1 x breadboard
jumper wires
Setup
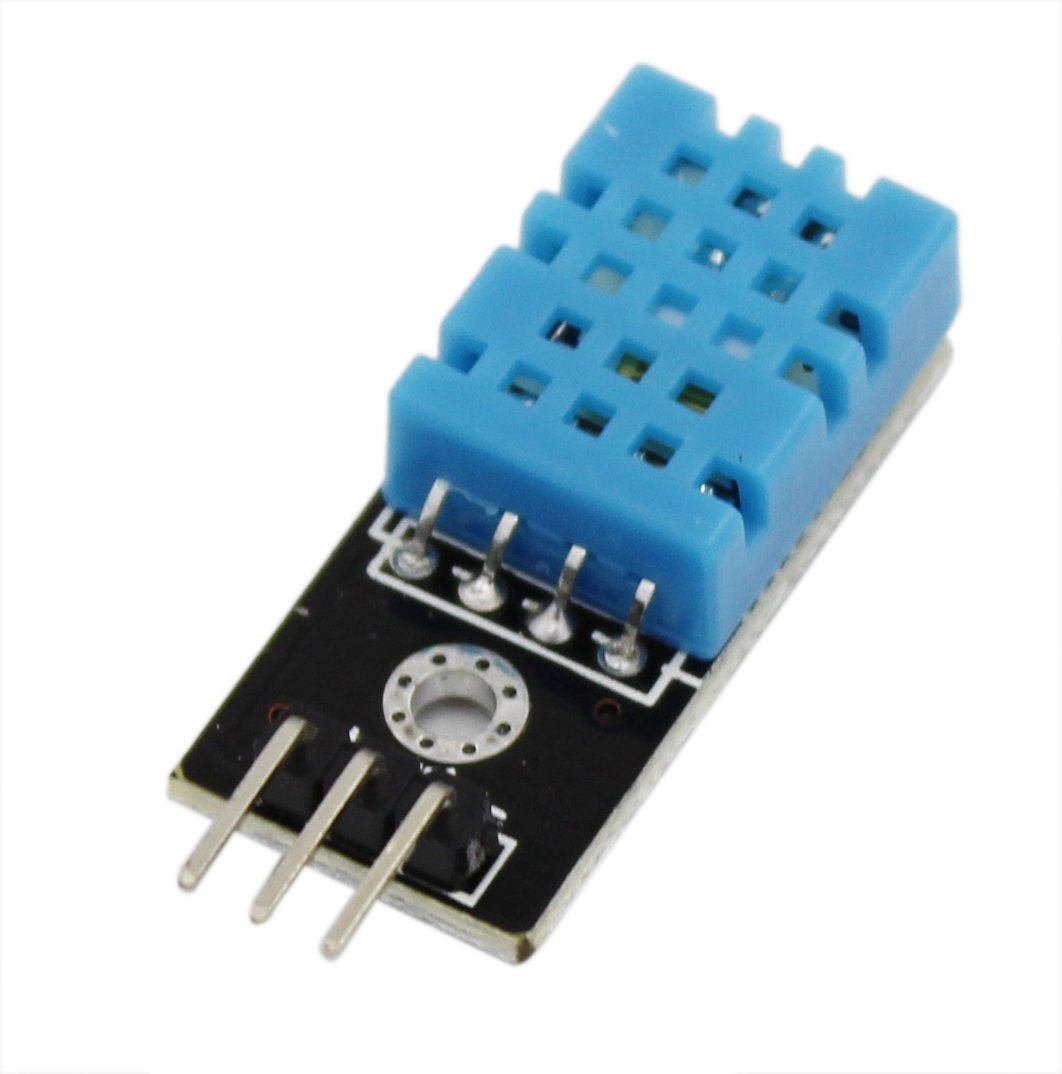
Note that the DHT11 sensors in the lab (and pictured above) actually only have 3 pins, even though the diagram below has 4.

Arduino sketch
This sketch relies on the DHT library. To install it, follow the following instructions:1.Quit the Arduino application, if it is open.
2.Download this ZIP file with the library.
3.Unzip the contents.
4.Rename the resulting directory from DHT-sensor-library-master to DHT.
5.Move the DHT directory into your ~/Documents/Arduino/libraries directory.
6.Open the Arduino application.
7.Verify that the library was successfully installed:
1.Go to the File -> Examples menu and checking for a DHT menu item.
2.Within it, open the DHTTester sketch.
3.Press the checkmark button at the upper left corner of the sketch
window to Verify the sketch and check that it prints Done compiling
at the bottom.
Adapted from Adafruit example.
#include "DHT.h"
#define DHTTYPE DHT11

// connect + to VCC (5V), - to GND and
// OUT to pin 2
#define DHTPIN 2

DHT dht(DHTPIN, DHTTYPE);

void setup()
{
  Serial.begin(9600);
  dht.begin();
}

void loop()
{
  float h = dht.readHumidity();
  float t = dht.readTemperature();
  if (isnan(t) || isnan(h))
  {
    Serial.println("Failed to read from DHT");
  }
  else
  {
    Serial.print("Temp: ");
    Serial.print( t );
    Serial.print( "Humidity: " );
    Serial.println( h );
    delay(500);
  }
}